Installing hardware
Use the configuration wizard to install hardware and things like note units (optional) and printers. You also use the wizard to configure language and dispense methods.
Important
If you need to sign in on a new Linux machine using SSH (Secure Shell protocol) or have lost your password to a Linux machine, contact your PayComplete™ sales representative to get a new password.
Note
You must use the wizard when you want to configure hardware. The wizard is available from the Action menu in Connect on-Device Studio.
Start Connect on-Device Studio,
On the Action menu, select Wizard.
Select the Connect on-Device coin hardware you want to install.
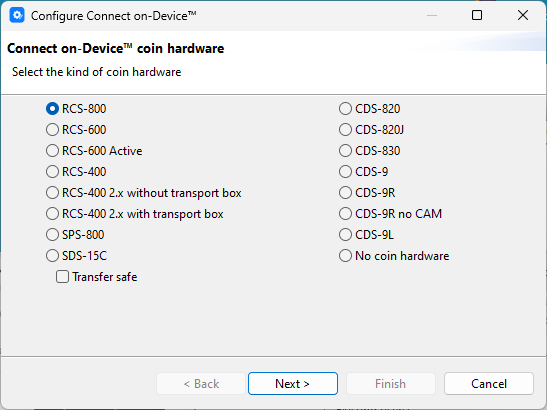
Click Next.
Select any additional coin hardware devices you want to add.
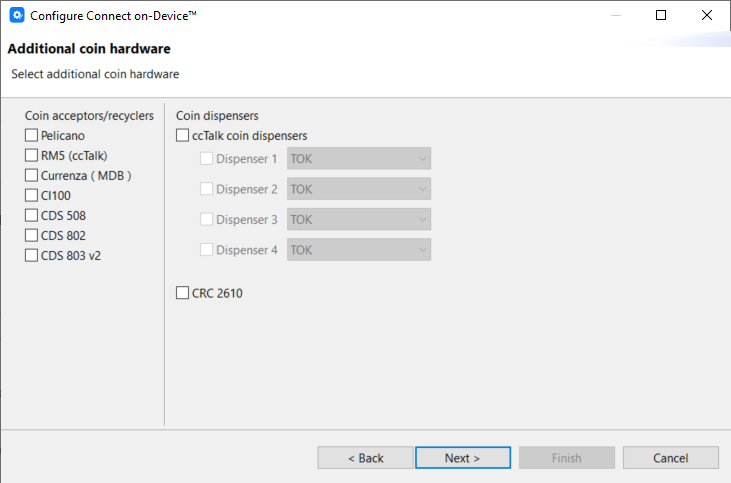
Click Next.
Select the note devices you want to install.
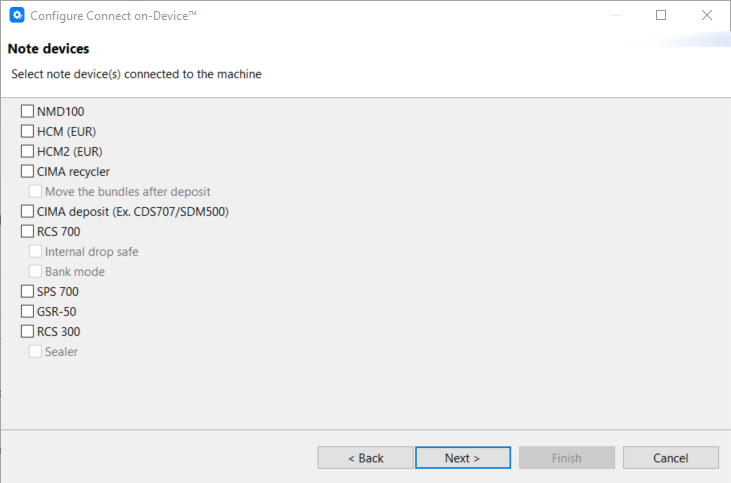
Click Next.
Select additional note devices you want to install.
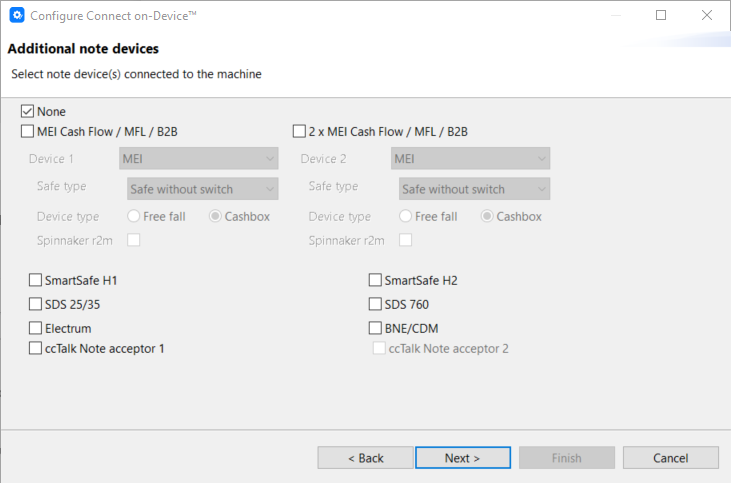
Spinnaker r2m enables the ink dye pack function for the cash box.
For more information, see DISABLE_CONTAINER_SECURITY Permissions A-L.
Click Next.
Select any additional devices you want to install.
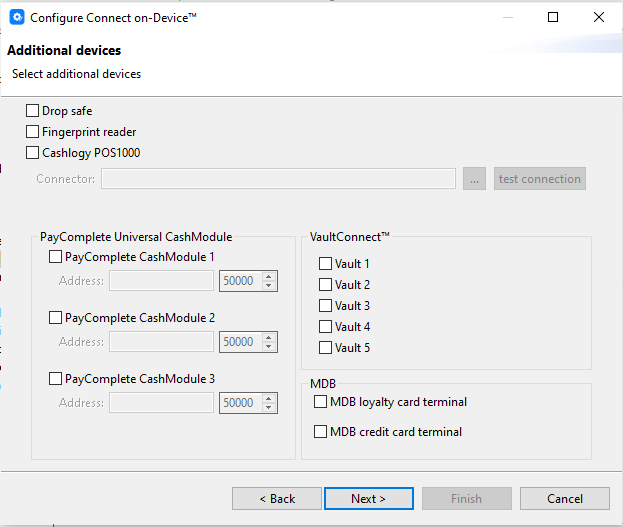
Click Next
Select any additional hardware you want to install.
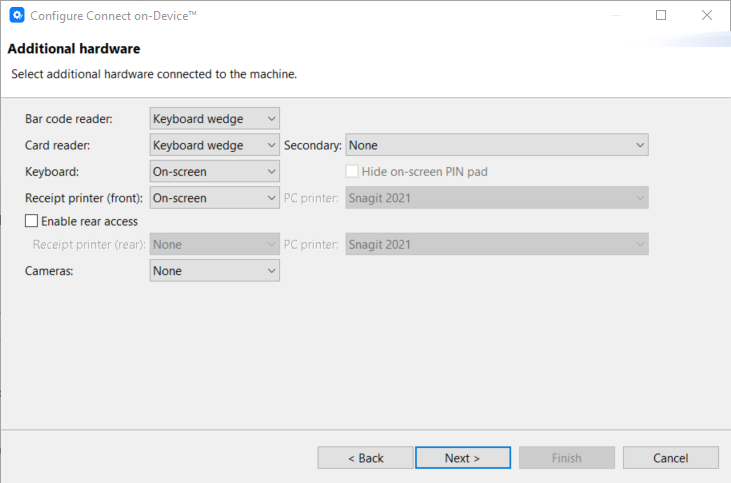
Click Next.
Select the following:
Language, country and variant to use for texts displayed on screen and on receipts
Master currency
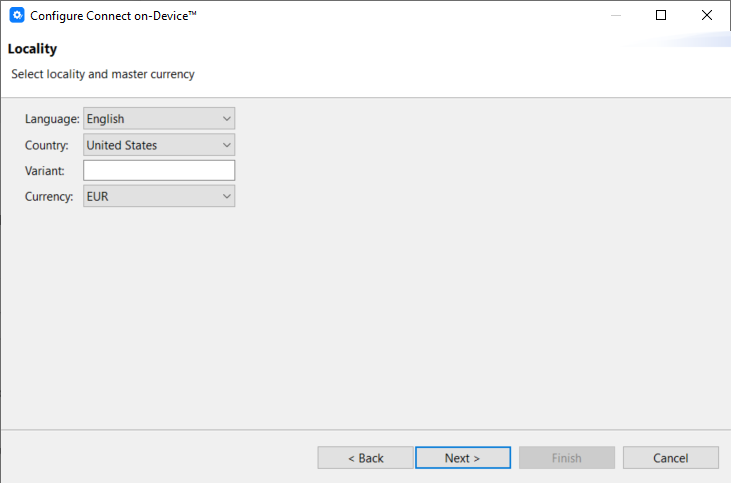
Click Next
Select the type of connectivity you want to use.
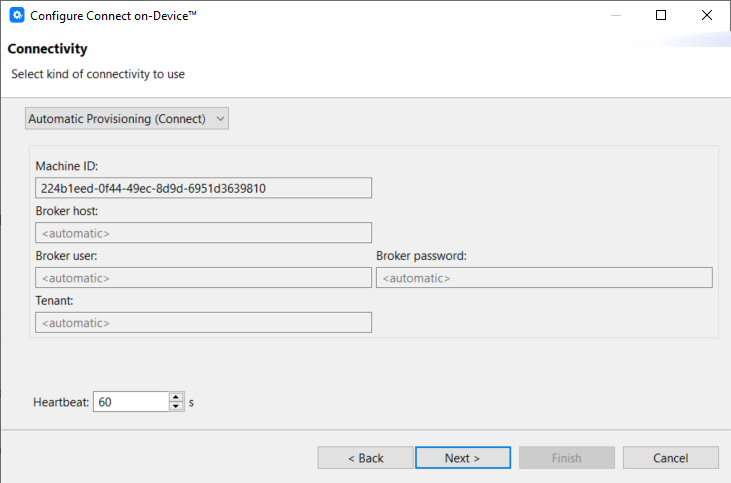
Click Next.
Enter alternative URLs for the provisioning server and the login server. This step is optional and only available if Automatic provisioning was selected in the previous step.

Click Next.
Wait for the wizard to detect the hardware selected in the previous steps.
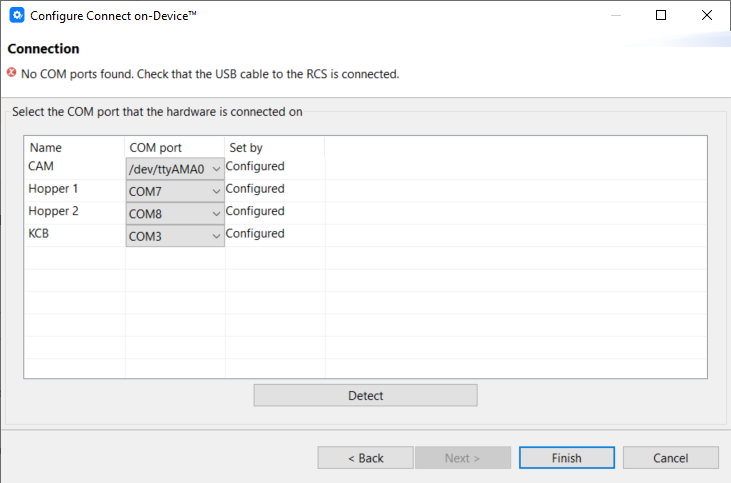
Name — shows the name of the hardware.
COM port — shows the configured, detected, or manually selected port.
Set by — shows the status once detection is completed.
When all the devices display Detected status, click Finish to complete the installation.
Tip
You can configure locality in the Language view on the navigation pane.
You can configure connectivity in the Connectivity view on the navigation pane.
See also
Action menu wizard — Connect on-Device coin hardware
Action menu wizard — Additional coin hardware
Action menu wizard — Note devices
Action menu wizard — Additional note devices
Action menu wizard — Additional devices
Action menu wizard — Additional hardware
Action menu wizard — Connectivity